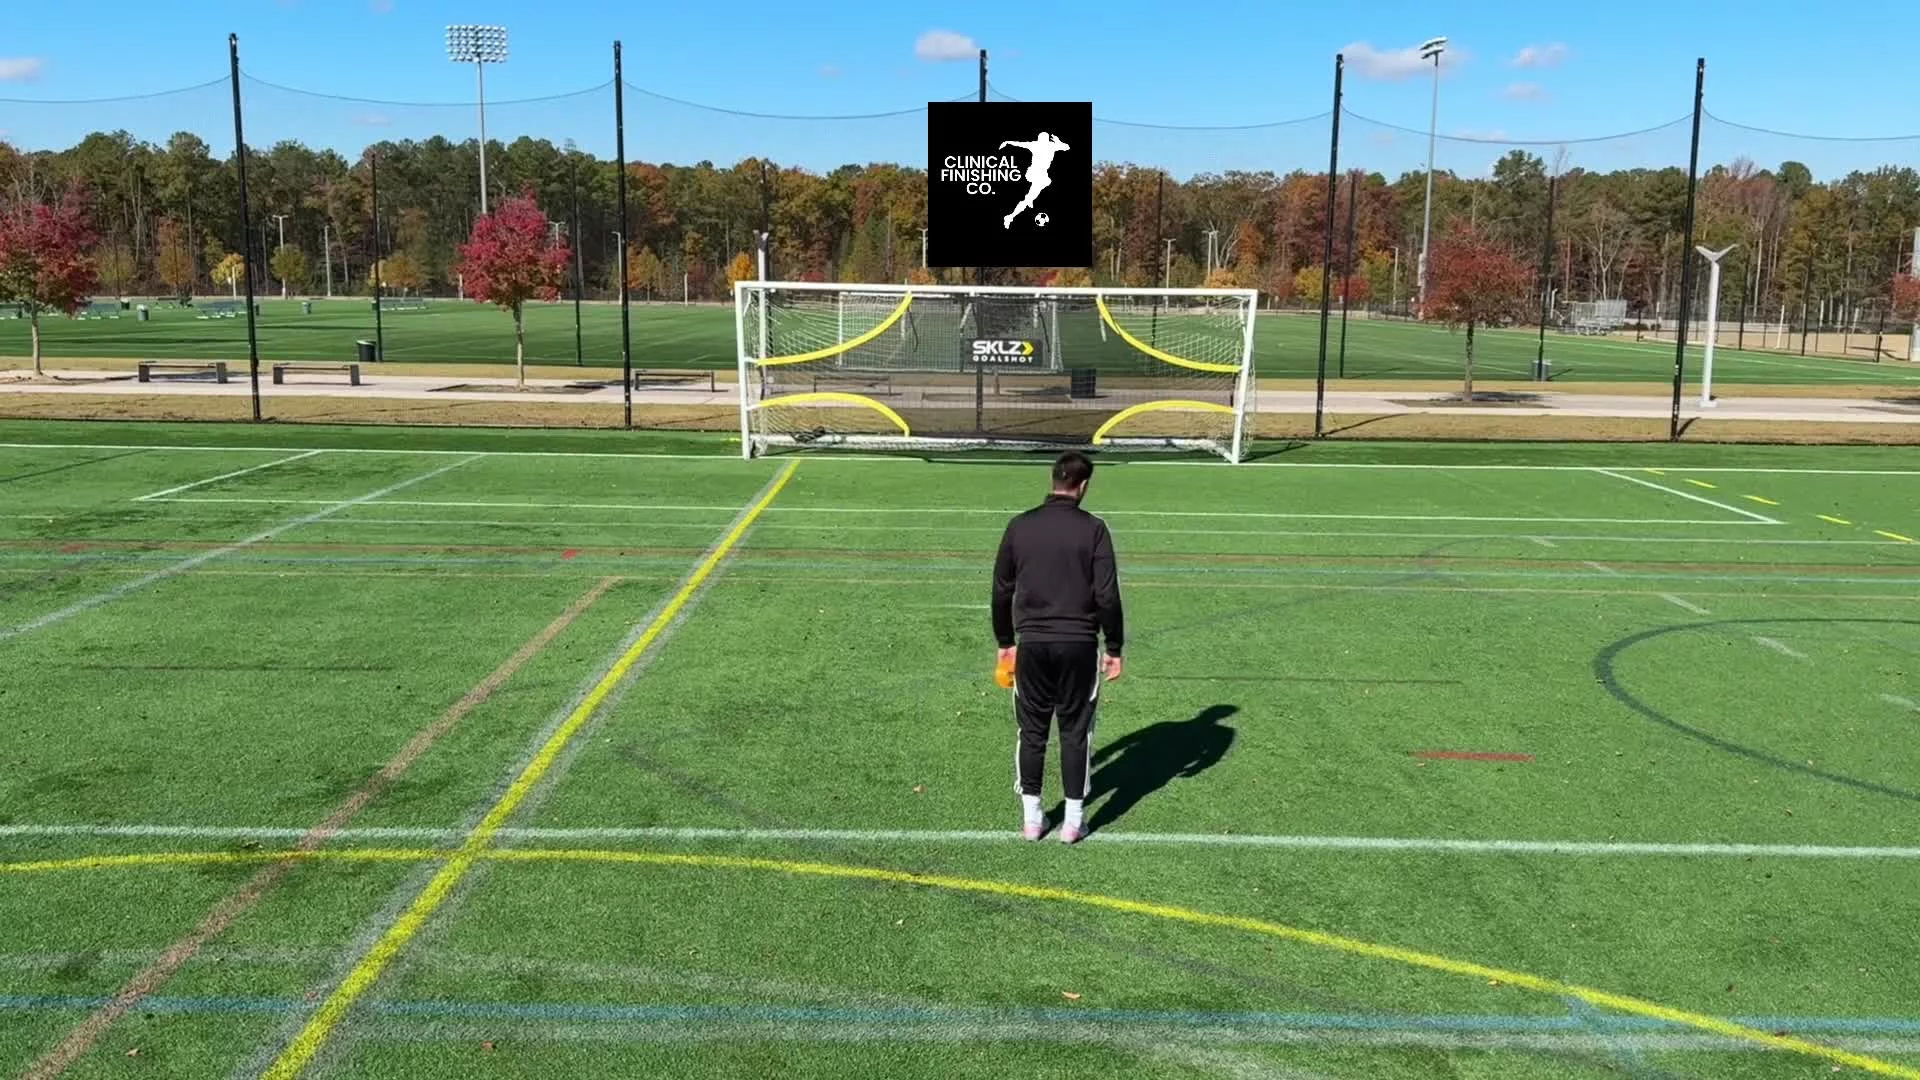

Blueprints for ruthless finishers
-
• 12/1/25
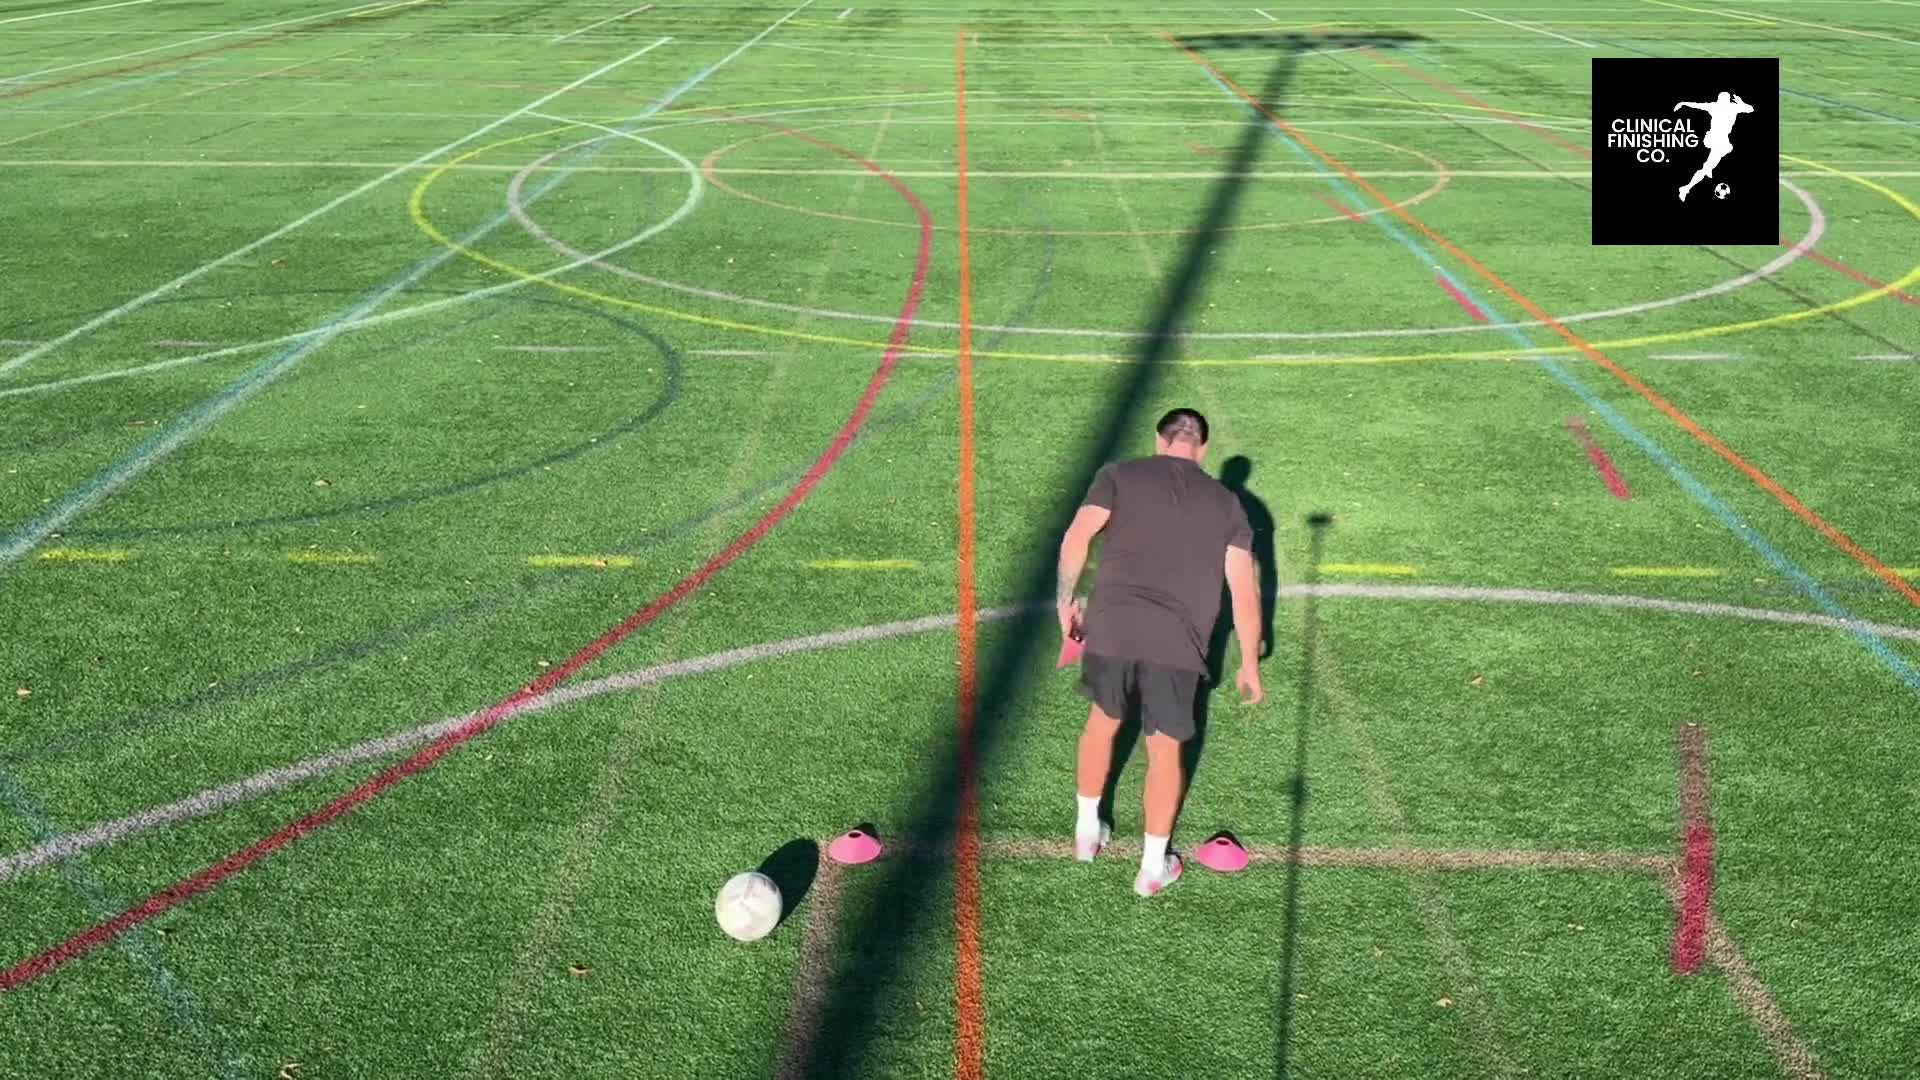
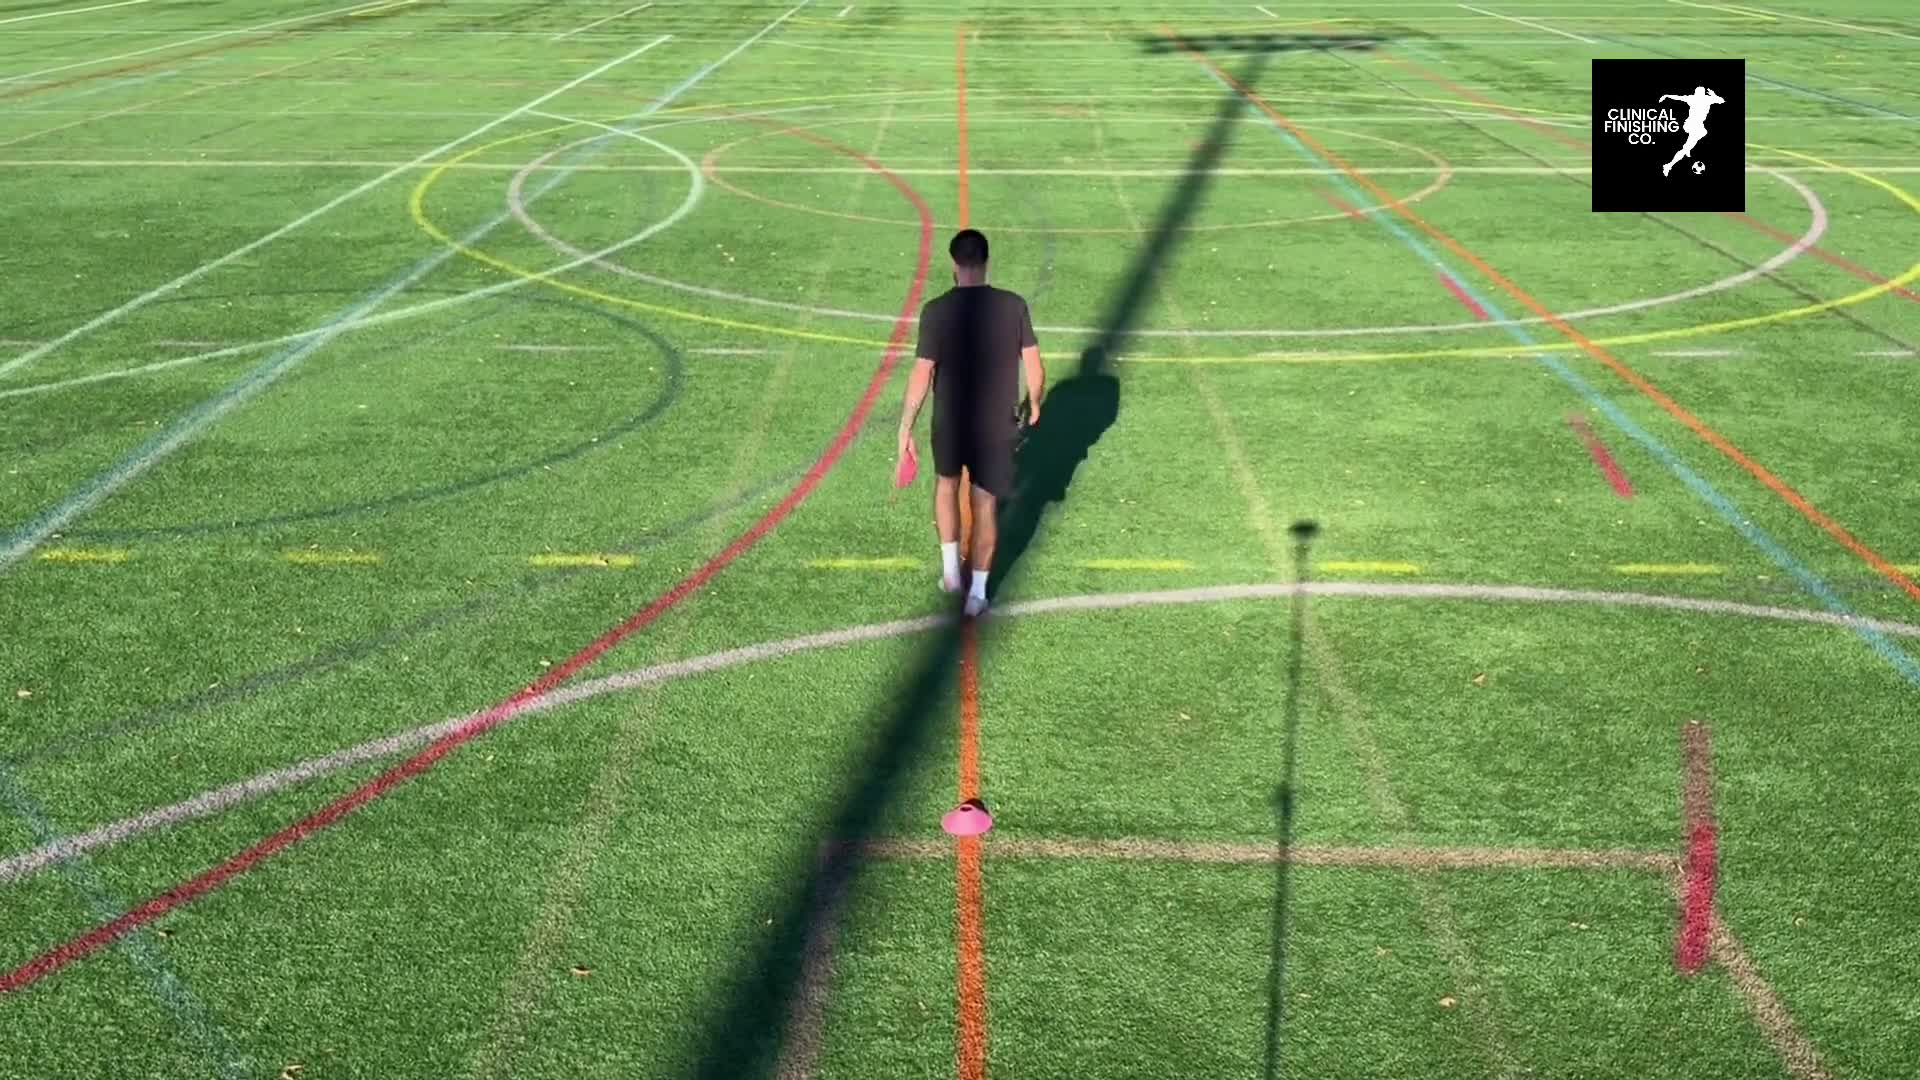
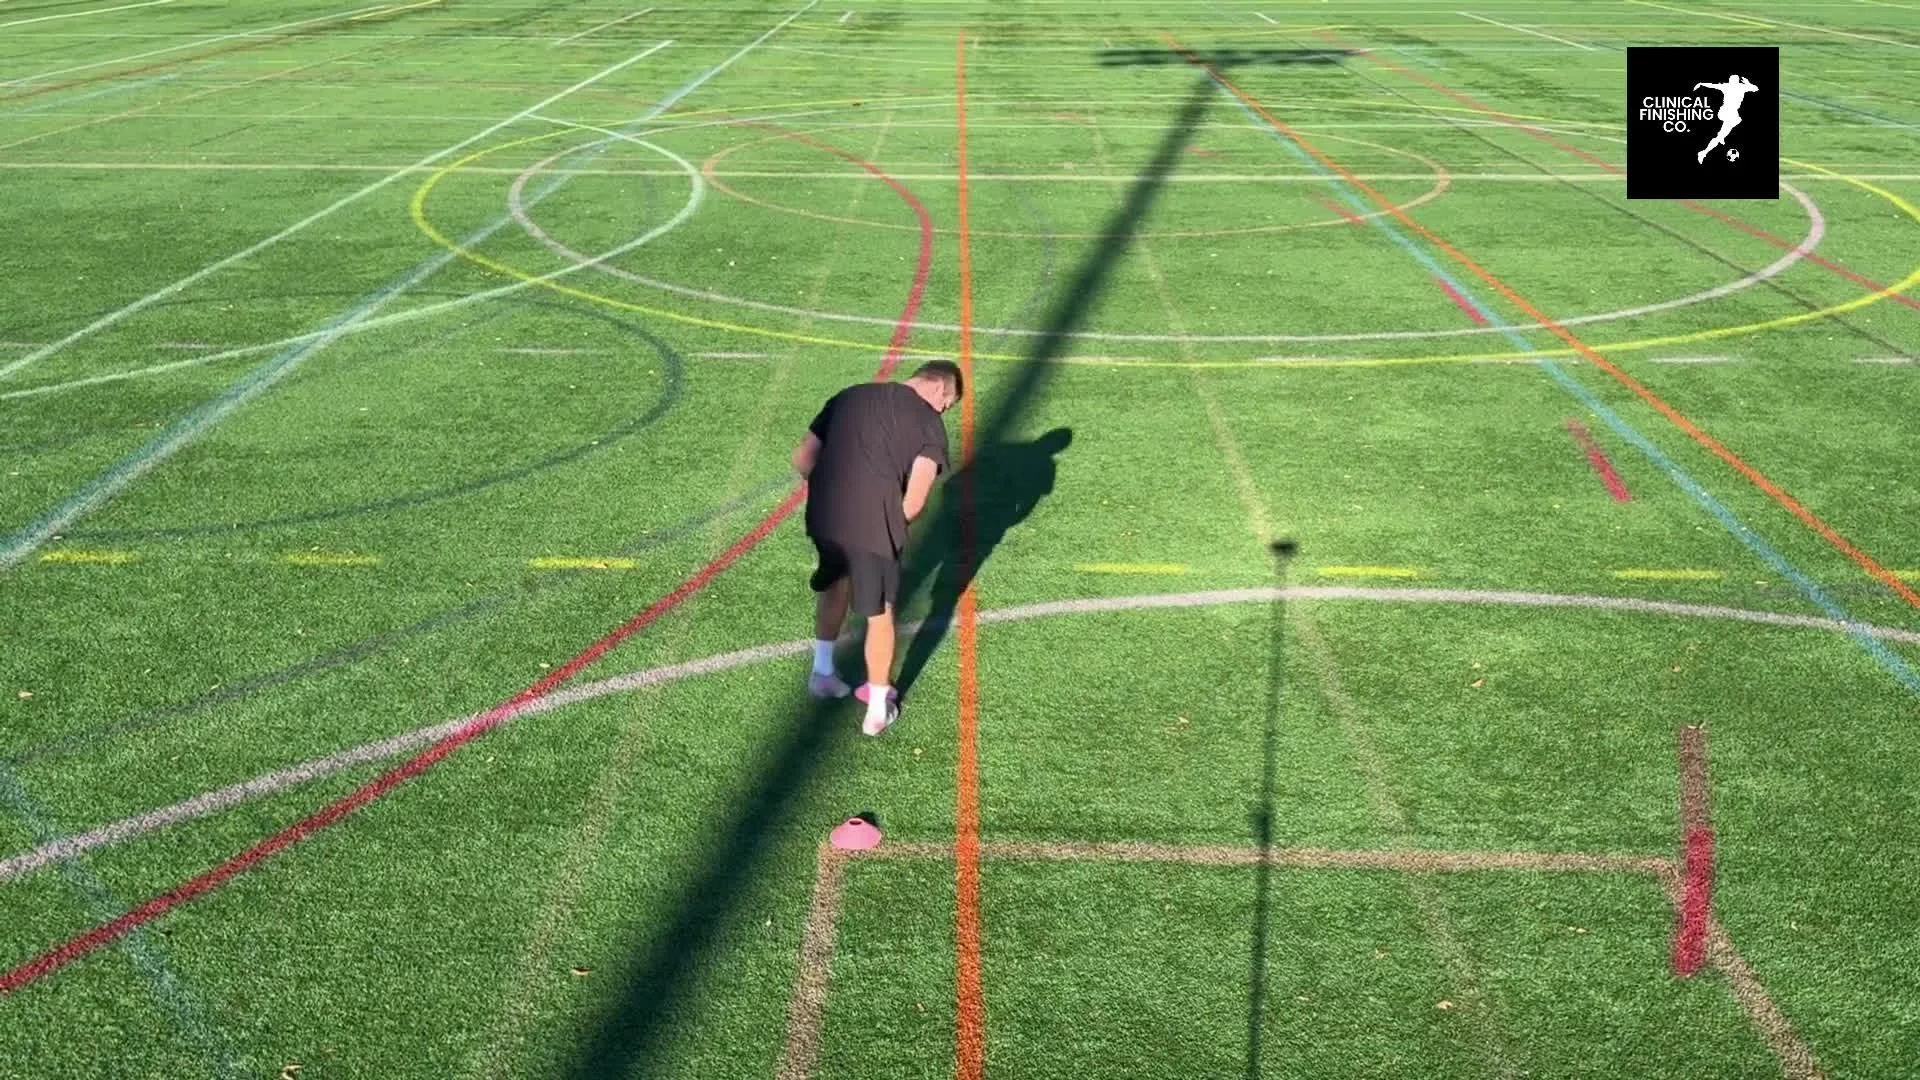
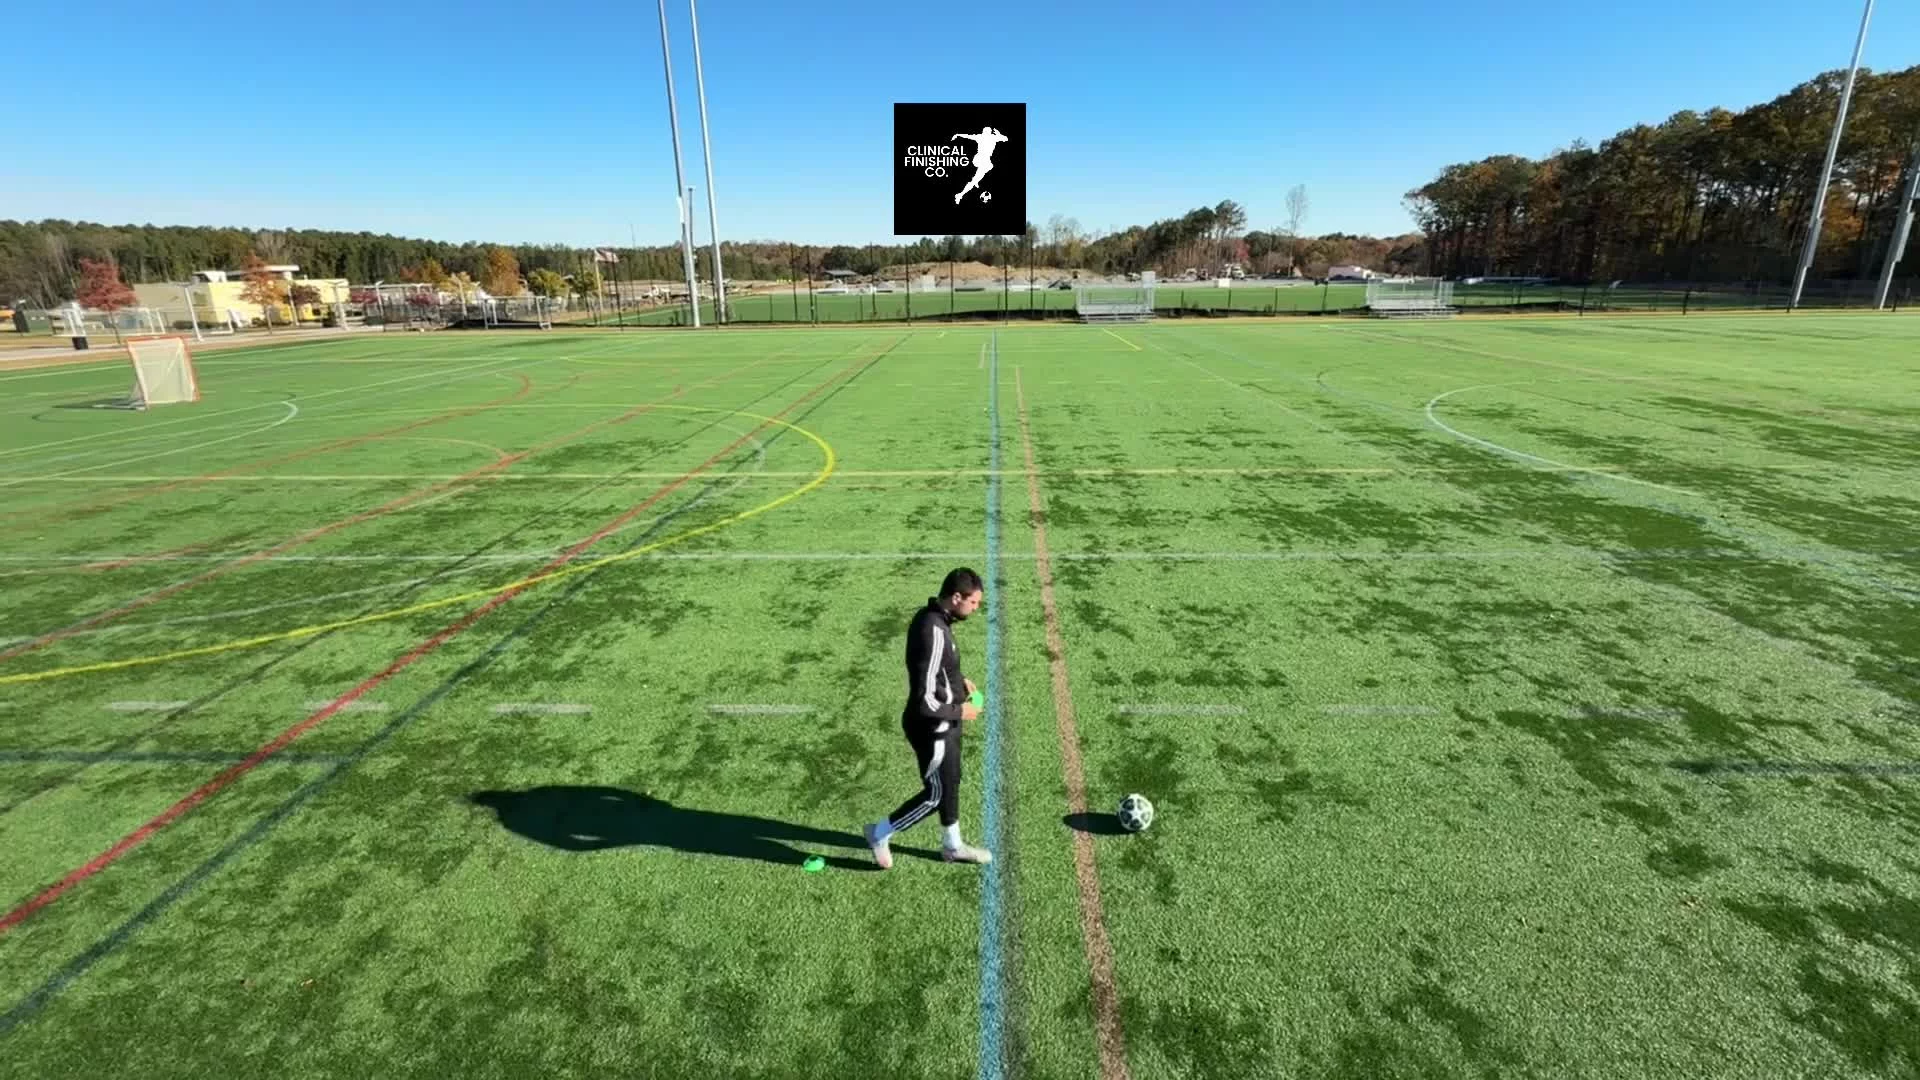
The 18-Yard Furnace
This drill turns the 18-yard box into a conditioning battlefield. You start with a backward shuffle to the 6, staying low, balanced, and controlled. The moment you hit the line, you snap forward into a full sprint to the 18, touch the line with precision, then fire back to the end line like you're closing down a counterattack with everything you’ve got.
The movement pattern forces you to stay sharp through every transition — backward mechanics, explosive acceleration, hard stops, and full-speed returns. No wasted steps. No lazy turns. Just pure work.
Backpedal, break forward, finish strong. This is the kind of drill that builds real match fitness, explosive recovery speed, and the mentality to push through the chaos and hit the line with purpose.
Drill Set Up:
Utilize the 18 yard box
If not available:
Set 1 cone
Take 6 big steps, place 2nd cone down.
Take 12 additional big steps, set down 3rd cone.
Drill Directions:
Backwards shuffle to the 6 yard line and perform a left handed turn, sprinting to the 18 yard line.
Turn aggressively and sprint to the end line.
Rest 10 seconds
Repeat the same as above, however turn on your right handed side this time.
Rest 15 seconds
Repeat the following above 6 times to complete this drill.
-
• 12/1/25
Overhead to Overdrive
This drill turns reaction, speed, and focus into pure chaos. You toss the ball over your head and, the moment it hits the ground, you explode toward the second gate. Fifteen steps of full-speed sprint test your acceleration, footwork, and mental sharpness.
Every rep pushes your reaction time, forces you to read the play instantly, and trains your body to transition from static to explosive in a heartbeat. On the way back, you reset, stay sharp, and attack the sprint again — no excuses, no let-ups.
Fast reactions. Sharp sprints. Total domination. This is how controlled chaos becomes a weapon on the field.
Drill Set Up:
Begin by creating a gate with a 1 step opening.
Walk 15 steps and create an identical gate to align with the 1st gate.
Drill Directions:
Grab a ball and toss it over your head.
Once you hear the ball bounce, turn and accelerate to the 2nd gate as quickly as you can.
Rest for 10 seconds
Repeat 6 times.
-
• 12/1/25
The Sprint Gauntlet
This drill is all about controlled chaos at top speed. You launch from the first cone, firing every muscle as you enter the diagonal box — forcing your body to accelerate while staying balanced and precise. The tight angles demand quick footwork, sharp coordination, and unyielding focus.
From the box, you explode toward the final cone, testing your ability to maintain speed, control, and intensity under pressure. Every step trains your agility, your acceleration, and your mental sharpness for real-game scenarios.
Fast. Sharp. Relentless. This is how you turn tight spaces and explosive movements into weapons on the field.
Drill Set Up:
Begin by placing down the 1st cone.
Walk 10 steps and place down the 2nd cone to your right, turn around and place down the 3rd cone to your left.
Take 2 steps forward and repeat, forming a box.
Take an additional 10 steps to place down the final cone.
Drill Directions:
Begin at the bottom of the drill.
Sprint to the left handed side of the box, entering and exiting from the sides, the accelerate to the last cone.
Rest for 10 seconds.
As you sprint back, enter through the right handed side of the box and enter through the opposite side.
Rest for 15 seconds
Repeat 6 times to complete the drill.
-
• 12/1/25
Load, Launch, Slice
This drill is all about explosive power and sharp change of direction. You load on your weak foot, ski jump to your strong foot, and explode to the first cone — firing every muscle in your body with precision. From there, you hit a sharp turn right to the second cone, then snap left to the final cone, demanding balance, control, and speed at every angle.
It’s a full-body workout for your feet, hips, and brain, training you to transition quickly, accelerate under pressure, and stay razor-sharp through every twist. Fast feet, clean turns, relentless execution — this is how you turn controlled chaos into a weapon on the field.
Drill Set Up:
Begin by forming a box with the corners 1 step apart from each other.
Walk 8 steps from the edge of the box and place down the 1st cone.
Turn right at an angle, walk 4 steps and place down the 2nd cone.
Turn left at an angle, walk 2 steps and set down the last cone.
Drill Directions:
Start at the top of the box with your strong foot on the edge.
Load your arms and balance on your weak foot, performing a ski jump to the other end of the box.
Explode off your foot and sprint to the 1st cone.
Quickly turn to the 2nd cone.
Finally, sprint through the 3rd cone.
Rest for 10 seconds and switch your stance, with your weak foot on the edge and loading onto your strong foot.
Rest for 15 seconds.
Perform a total of 6 sets.
-
• 12/1/25
The Six-Tech Gauntlet
This is the drill that separates the good from the great. Seven cones, six techniques, one relentless flow — executed non-stop. The middle five cones are packed tight, forcing you to operate in micro-space where every touch counts.
You’ll cycle through each technique with precision, building muscle memory, close control, and consistency under pressure. It’s punishing, it’s technical, and it demands focus — but the results are undeniable. This is where tight feet, sharp touches, and unshakable control are forged.
Six techniques. Zero excuses. Maximum improvement. Every rep pushes your technical limits and turns controlled chaos into second nature.
Drill Set Up:
Place down the 1st cone
Take 3 steps and place down the 2nd cone
Place your heal at the front of the 2nd cone and place the 3rd cone down at your toe. This is the spacing you will use throughout the middle section
Set down 4 additional cones - You should have 5 cones in the middle total.
Take an additional 3 steps and set down the 7th and final cone.
Drill Directions:
Strong Foot Only - Only using your strong foot, shift the ball with your body and feet through the middle section and turn with the outside of your foot at the last cone - Weave through the middle section on the way back as well.
Weak Foot Only - Same as above - Only using your weak foot now.
Inside Foot Only - Dribble to the middle section with the outside of either foot and quickly switch to shuffling the ball with the inside of your foot through the middle section. Once you exit the middle section - Shift back to the outside of your foot and dribble around the cone only using the outside of your foot. Perform the same technique back through the cones.
Ball Rolls - Similar as above, dribble to the middle section using only the outside of your foot and perform a ball roll and touch, setting yourself up for the next ball roll. Complete through the middle section, wrap around the last cone, and perform on the way back.
Outside of the foot only - Using only the outside of your feet - Dribble through the middle section, by pushing the ball with the outside of your foot and quickly shuffling across to catch it with the outside of your opposite foot. Perform this technique down and back.
2 touch - Dribble to the middle section with the outside of your strong foot and hit the ball through the space with the outside of your strong foot, quickly catch it with the inside of your strong foot, shift your body and push the ball through the next space with the outside of your opposite foot. Catch the ball with the same foot and repeat throughout the middle cones.
Perform non-stop with a 30-45 second rest before entering the gauntlet again.
Repeat for a total of 6 reps.
-
• 12/1/25
Chase, Turn, Hunt Again
This drill puts your acceleration under fire. Short sprints, sharp turns, and minimal rest mimic the relentless pace of real-game pressing — defenders coming at you back-to-back, demanding quick reactions and explosive movement.
Every sprint forces you to fire off the line with maximum intensity, hit the turn clean, and immediately reset for the next rep. It’s not just about speed — it’s about control, body positioning, and maintaining sharpness under fatigue.
This session builds the kind of explosive conditioning and technical precision that separates average players from game-changers. Fast feet, hard cuts, zero downtime — pressure, repetition, domination.
Drill Set Up:
Begin by placing down the 1st cone.
Walk 8 steps directly straight to place down the 2nd cone.
Turn backwards to your right at an angle, walk 4 steps and place down the 3rd cone.
Turn around and walk 8 steps directly in front of the 3rd cone to place down the 4th cone.
Turn backwards to your left at an angle, walk 4 steps and place down the 5th cone.
Finally, turn around and walk an additional 8 steps to place down the 6th and final cone.
You should have 4 cones in a line with 2 cones in their own line right beside them.
Drill Directions:
Begin at the 1st cone and sprint to the cone directlty in front of you.
Dropping your center of gravity, extend one foot to touch the cone while turning and facing the 2nd cone that you will sprint to.
Sprint or shuffle to the 2nd cone and mimick the same body posture.
Do this throughout the drill, sprinting through the cones in the same way you laid them down.
Once you reach the end of the set up - rest for 15 seconds and perform the drill in reverse order.
Rest for 20 seconds and repeat 6 times
As you increase your fitness and stamina - Skip the 15 second rest and turn immediately, only resting for 20 seconds.
-
• 12/1/25
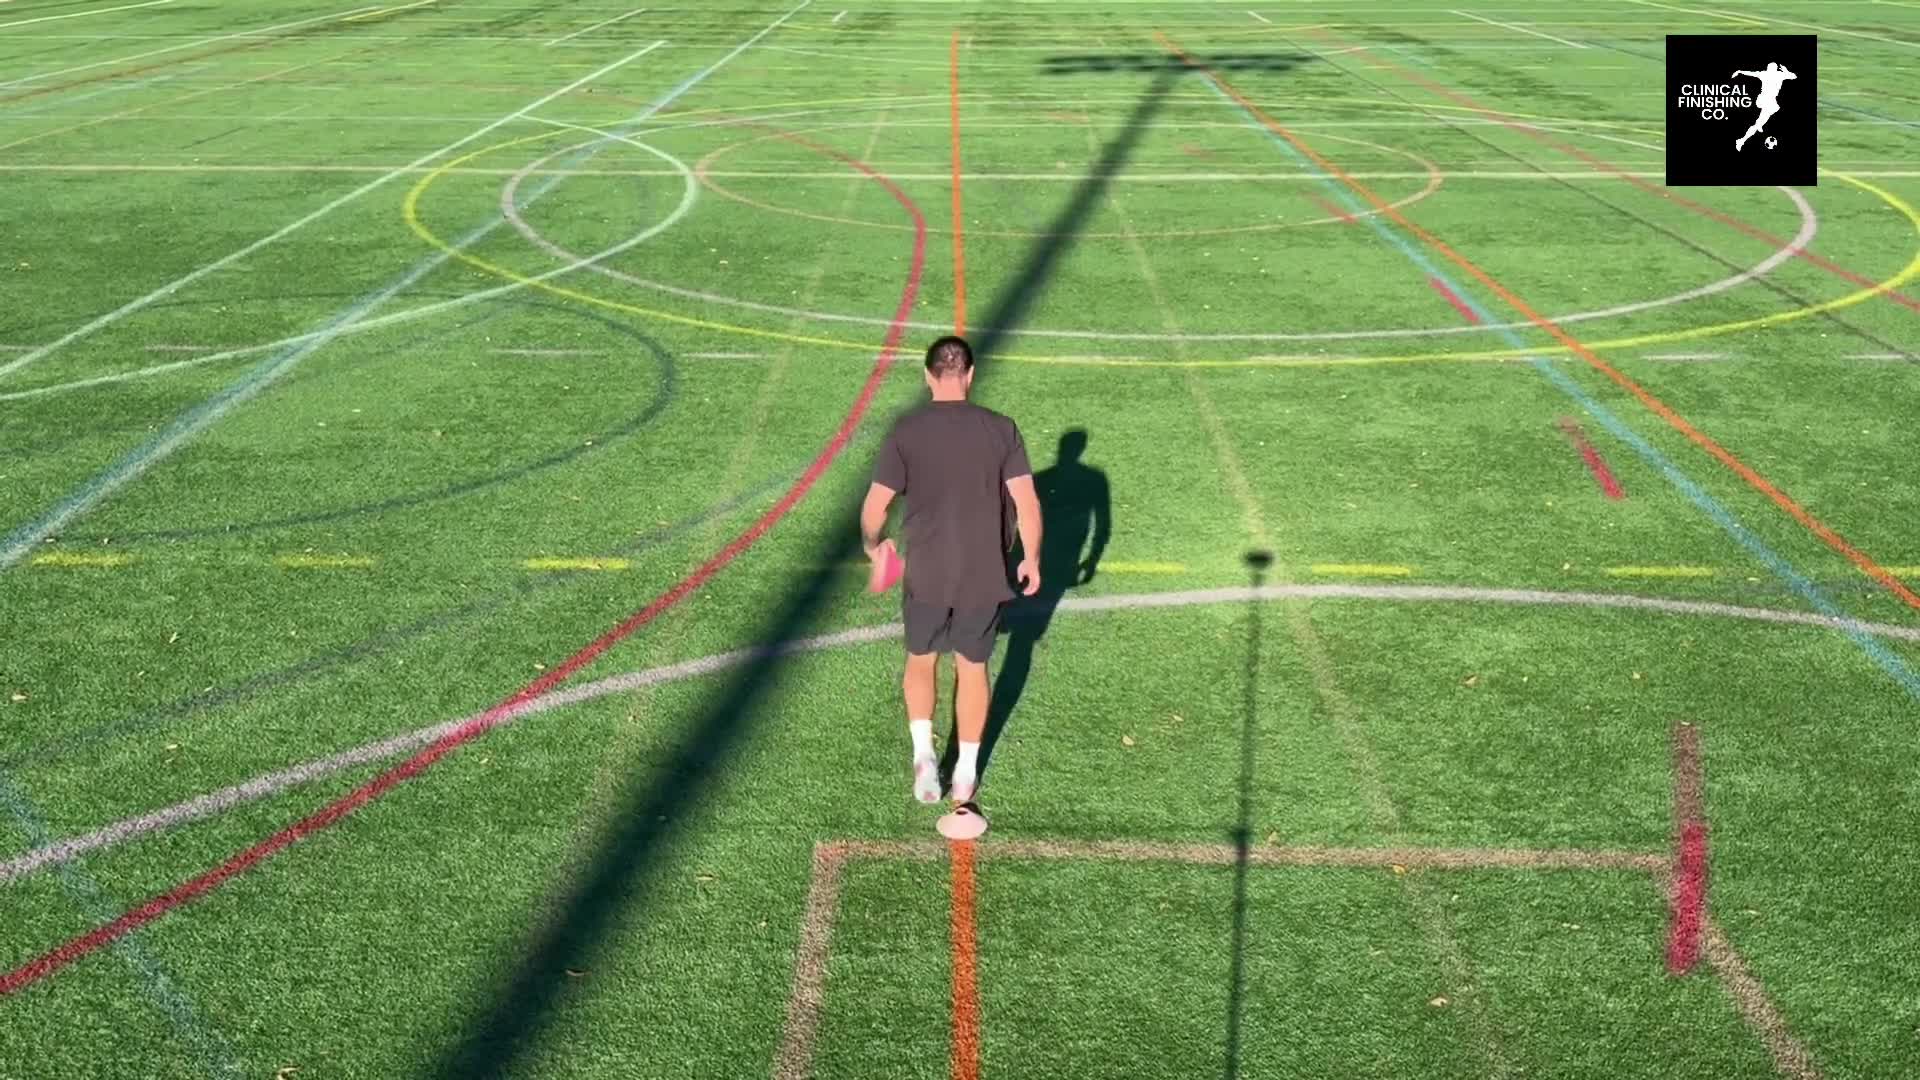
Run the Spine, Rip the Turn
This drill turns the capital T into a test of pure control and discipline. You attack the stem of the T with tight, controlled touches, then snap into the horizontal line where your angles get sharper and your decision-making gets tested. Every change of direction demands balance, clean footwork, and total command of the ball.
You work both feet — strong and weak — driving up the line, cutting across, and retracing your steps without letting the ball drift or your technique fall apart. The vertical stretch forces controlled acceleration; the crossbar challenges you to stay compact and precise in tight space.
The goal: move fast, stay tight, and dominate every angle of the T. This drill builds the kind of dribbling control that translates to real-game pressure — fast touches, sharp turns, and chaos-proof footwork.
Drill Set Up:
Begin by setting down the 1st cone.
Walk 10 steps directly in front of the 1st cone and set down the 2nd cone.
Turn to the left and walk 5 steps to set down the 3rd cone.
Turn back around and walk across the drill 10 steps to set down the 4th and final cone.
You should have a uppercase T as a layout.
Drill Directions:
Begin at the bottom of the T and dribble down the center with your strong foot only.
Once you arrive at the middle cone, turn with the outside of your foot to the outer cone and perform a sharp turn.
After the turn, dribble across the top of the T to the cone you have not dribbled to and perform another sharp turn.
After completion of both the upper cones at the top, dribble to the middle cone, turn and arrive back at the start.
Rest for 15 seconds and perform with your weaker foot.
You WILL NOT turn the same direction with your weaker foot as it’s a different direction with the outside of your foot.
Once complete, rest for 30 seconds
Repeat the above 6 times and rest for 2 minutes.
Complete for an additional 2 sets for the best results.
-
• 12/1/25
Broken Path, Perfect Control
This drill forces you to own every angle in the W. With cones laid out in a tight W formation, you’re challenged to drive through sharp cuts, short gaps, and longer bursts while keeping the ball glued to your foot. You work down and back with both your strong and weak foot, building true two-footed control — not just comfort, but confidence under pressure.
Each section of the W demands something different: tight, disciplined touches through the narrow bends and explosive speed on the longer stretches. The ball has to stay close, your hips have to stay loaded, and your control has to stay clean, even when you’re pushing the pace.
This is where players learn to dominate tight spaces, change direction with purpose, and maintain speed without letting the ball drift. Sharp angles. Strong touches. Ruthless control.
Drill Set Up:
Begin by placing down the 1st cone.
Turn 45 degrees to your right and walk 4 steps to place down the 2nd cone.
Turn another 45 degrees to your left, walk 6 steps and set down the 3rd cone.
Turn another 45 degrees to your right, walk 6 steps and set down the 4th cone.
Finally, turn 45 degrees to your left, walk 4 steps and set down your final cone.
Drill Directions:
Beginning with your strong foot, dribble down the W formation, maintaining tight control on the turns
When the path becomes longer, open your dribbles and increase your speed to the next cone.
Dribble down the W, perform a sharp turn at the end and dribble back to the beginning only using your strong foot.
After returning - Wait 15 seconds and perform this drill with your weaker foot.
After returning, rest for 30 seconds and perform an additional 5 times. 6 repetitions in total.
After completing 6 reps, rest for 2 minutes and perform the above again 2 additional times for the best results.
-
• 12/1/25
Chaos Weave: One Touch Only
This drill turns tight-space dribbling into a pressure test. Cones staggered three steps apart force you into a narrow channel where every touch matters — no coasting, no lazy footwork. You’re limited to one touch on each side, demanding precision, balance, and absolute control at full speed.
You weave through the cones with quick, efficient touches, staying tight to the ball while keeping your body loaded to change direction instantly. At the end, you snap into a sharp turn, then drive back through the same channel with the same intensity and discipline.
This is where clean technique meets chaos. Fast touches, tight lines, ruthless efficiency. Every rep trains your ability to stay composed at top speed and escape tight spaces without losing control.
Drill Set Up:
Begin by placing down the 1st cone.
Walk 5 steps and place down the 2nd cone.
Continue walking another 3 steps and set down the 3rd, 4th, and 5th cone, all 3 steps apart.
After the 5th cone, walk another 5 steps and set down the 6th cone.
Drill Directions:
Starting with your strong foot only.
Dribble down the line, weaving through the cones - Limiting yourself to 1 touch on each side.
Focus on shifting your feed and body between the cones.
Perform a sharp turn and weave through the cones back.
Rest for 15 seconds.
Perform with your weak foot.
Rest for 30 seconds
Repeat 6 times.
Repeat all the above 2 additional times for the best results.
-
• 12/1/25
Burn the Grass, Break the Turn.
This drill is built for players who want real speed with the ball, not fake-fast jogging touches. Burn the Grass, Break the Turn forces you to explode from a dead stop, attack the gate at full pace, and touch the ball every single step to keep total control under max speed. At the gate, you snap into a sharp, efficient turn, then fire back toward the start line with the same urgency and technical discipline.
The goal is simple: accelerate faster, stay tighter on the ball, and waste zero movement. This session trains your first-step burst, your ability to turn at speed without losing the ball, and your habit of finishing reps with intention, not coasting.
Fast feet, clean touches, ruthless acceleration — in controlled chaos, every step counts.
Drill Set Up:
Begin by placing down 1 cone.
Turn right and take 2 steps, place down the 2nd cone.
Turn left and take 15 steps, placing down the 3rd cone.
Turn left again and take 2 steps, placing down the 4th cone.
You should have 2 gates, 15 steps apart from each other.
Drill Directions:
Begin in a stationary position with your strong foot behind the ball.
Sprint as quickly as you can to the gate directly ahead of you, focusing on taking a touch after every step.
Perform a sharp turn at the gate and sprint while maintaining control quickly back.
Rest for 15 seconds.
Perform the same with your weak foot.
Rest for 30 seconds.
Complete 6 repetitions of the above and then rest for 2 minutes.
Perform this drill an additional 2 times for the best results.
-
• 12/1/25
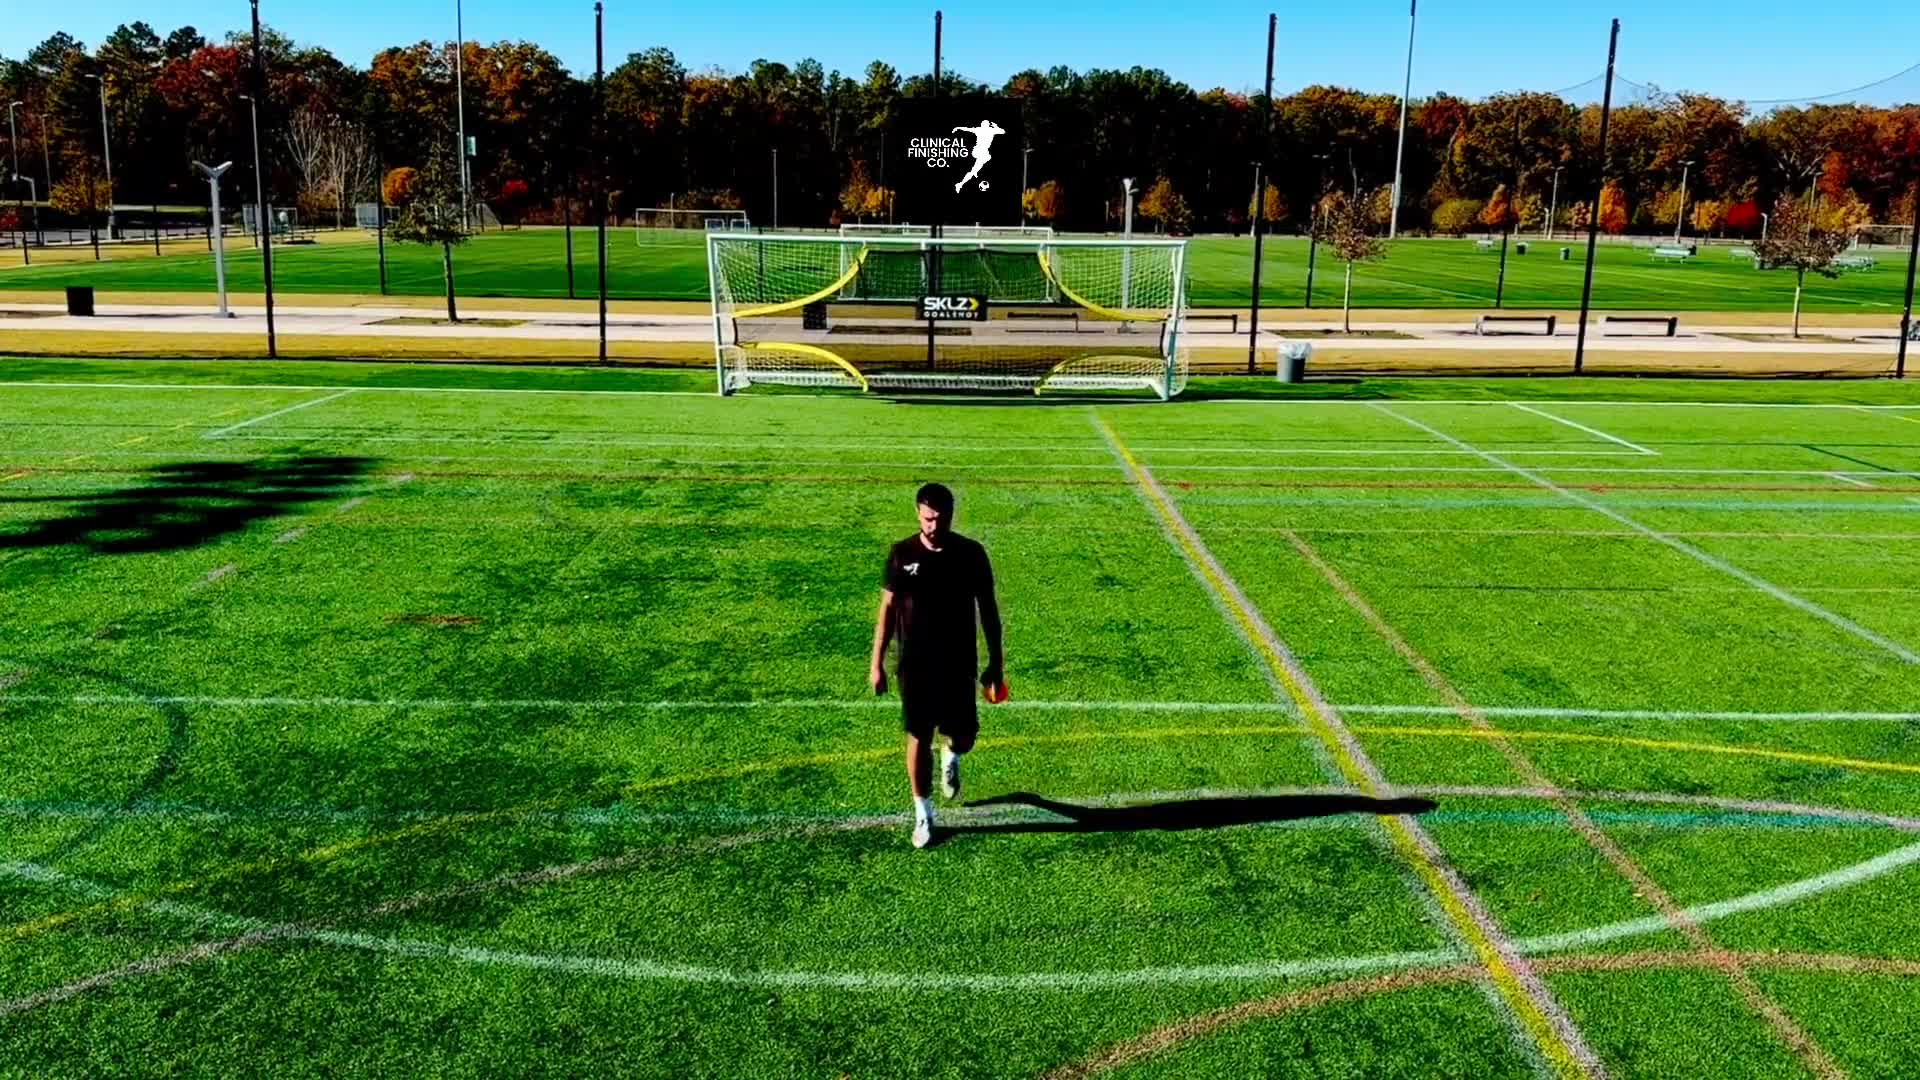
Through the Heart: Cold-Blooded Box Finishing
Finishing through the heart of the defense demands perfect posture, ruthless decision-making, and zero hesitation. In this session, the focus is on shaping your hips the right way to beat the keeper before they have any chance to close you down.
When you open your hips, you’re selling the far-post finish — pushing the ball just outside the keeper’s reach with finesse and deception. When you close your hips, you’re driving your laces through the ball and striking across the goal with power and intent. Both require control, balance, and the right body angle at the right moment.
These chances become almost impossible if you take an extra touch. The keeper is sprinting off their line, defenders are tracking back and reading your setup, waiting to slide, block, or poke the ball away the second you hesitate.
This drill forces you to time your run, trust your posture, and finish in stride. No wasted touches. No second guesses. Just clean, clinical, ice-cold execution straight through the middle of the box.
Drill Set Up:
Begin on the weak side of the 18 (Right footed players on the left, left footed players on the right)
Take 10 steps directly backwards and set down the 1st cone.
Turn & face the near post, take 6 steps and place down 1 cone.
Walk another 6 steps or till you reach the 18 and set down 1 cone.
Walk across the 18 4 steps and set down the last cone.
Drill Set Up:
Begin at the top of the 18-yard box and walk 5 steps backwards or to the top of the semi-circle.
Take 1 step to your left and set down the 1st, then take 2 steps to your right and set down the 2nd cone.
Walk 6 steps directly to the goal and set down the 3rd cone.
Take 2 steps to the side and set down the 4th cone.
You should have 2 gates lined up, 6 steps apart from one another.
Walk 3 steps to align yourself in between 2 of the cones and step 3 steps outward, setting down the 5th cone.
Walk 2 steps toward each gate and set down the 6th and 7th cone.
Repeat the same steps on the other side.
Drill Directions:
Play a weighted pass from the top gate through the bottom gate.
Sprint around the half circle and finish to the corner directly in front of you, opening up your hips.
Repeat 15 times.
Play the same weighted pass and same sprint - This time, snapping your hips shut and lacing the ball across the goal.
Repeat 15 times.
-
• 12/1/25
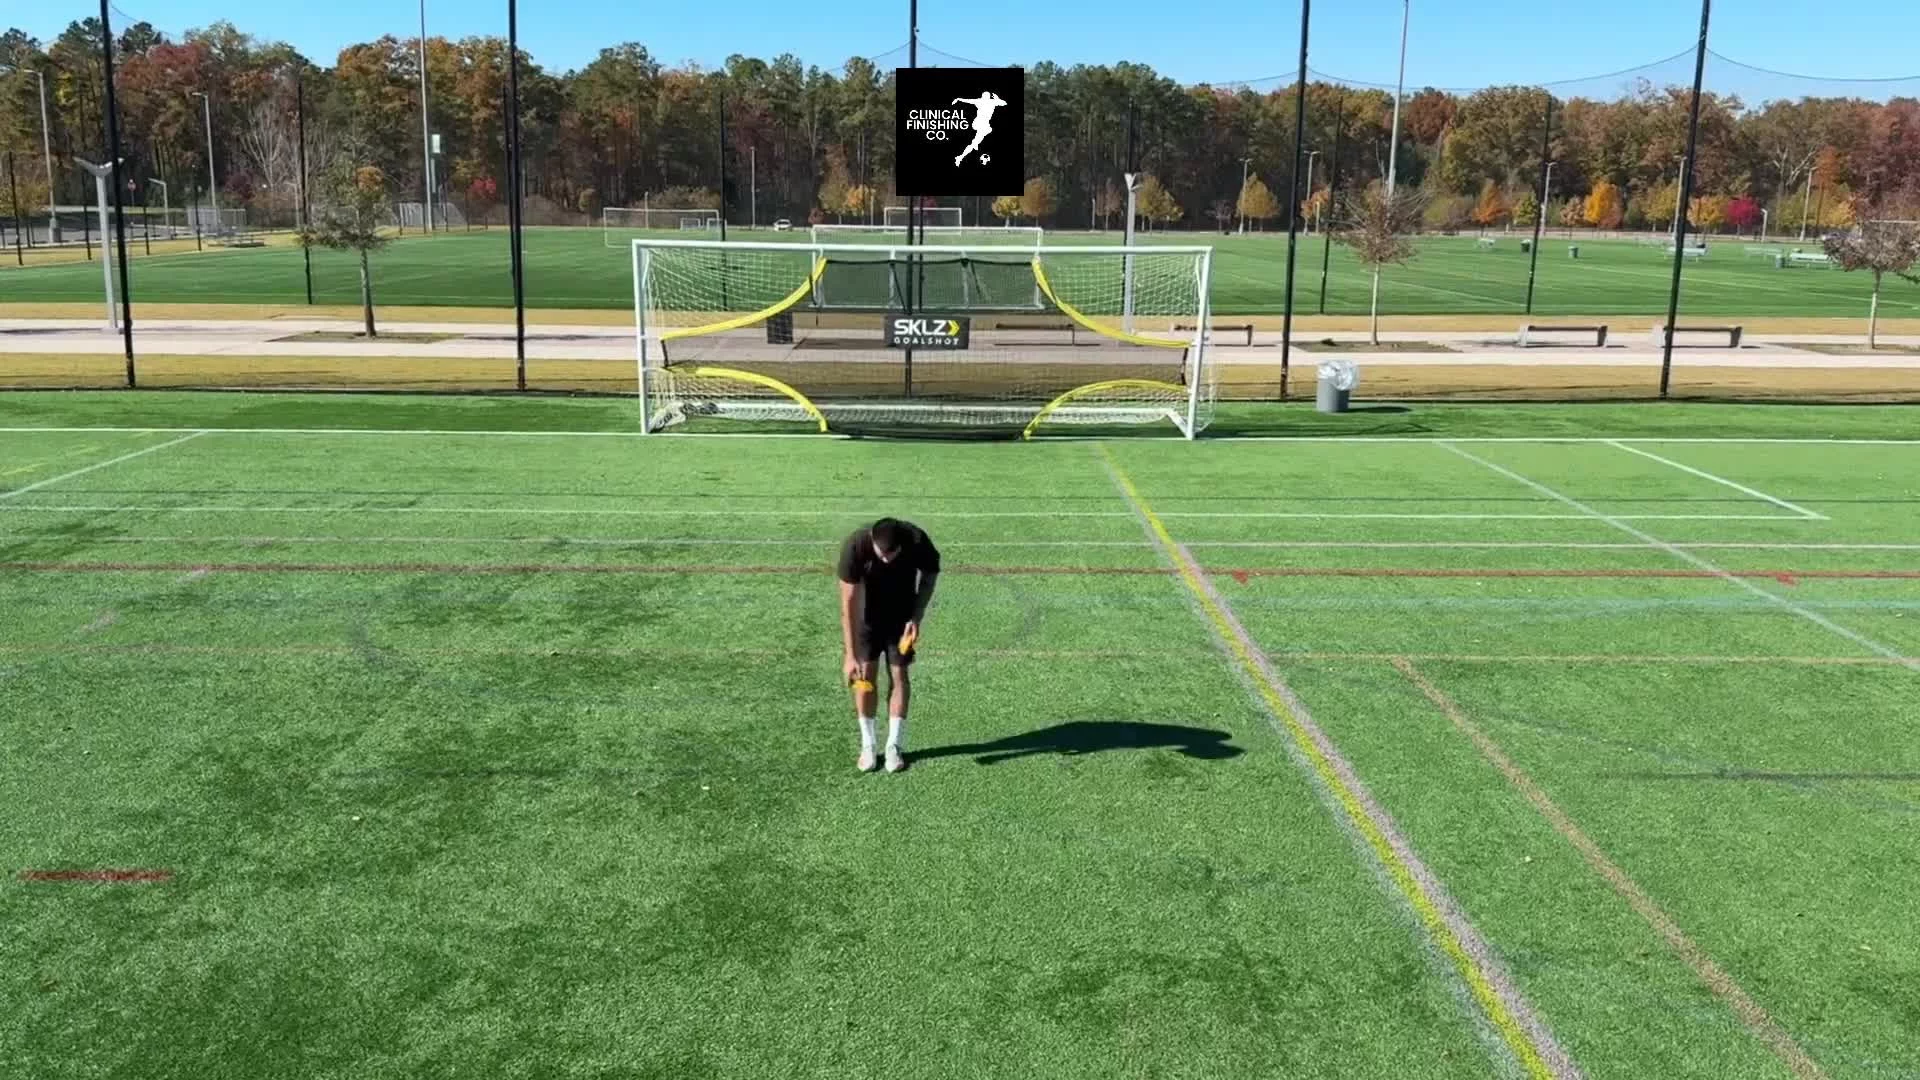
Bounce, Turn, Bury - No Hesitation. All Execution.
In this session we focus on one of the most underrated — and most deadly — finishing skills: putting the ball away with limited touches off a bounce with your back to goal. Not every cross lands clean at your feet. Sometimes it drops behind you, skips off the turf, or forces you to improvise with almost no time or space.
This drill challenges players to turn on the half-bounce, stay composed, and bury the chance in the bottom cornersusing no more than two touches. It builds muscle memory, sharper instincts, and the confidence to finish in chaotic moments inside the box. The more you rep this, the more natural that quick turn-and-fire becomes — and the more dangerous you are in front of goal.
Master this, and you stop waiting for perfect service. You start creating your own goals.
Drill Set Up:
Begin on the PK spot
Take 3 steps directly back and set down the 1st cone
Set down 2 additional cones, 1 on each side with some space in between them.
Step to your weak sided cone and take 2 steps at a 45 degree angle.
Set down the last cone.
Drill Directions:
Juggle the ball into your hands and toss it directly into the air.
As the ball bounces - touch and turn with the ball using the inside of your foot.
Aim to finish near post.
After 15 reps - Challenge yourself to not use your hands and kick the ball directly into the air.
Repeat 15 times.
After completion, repeat the same steps as above but finish across the goal.
-
• 11/13/25
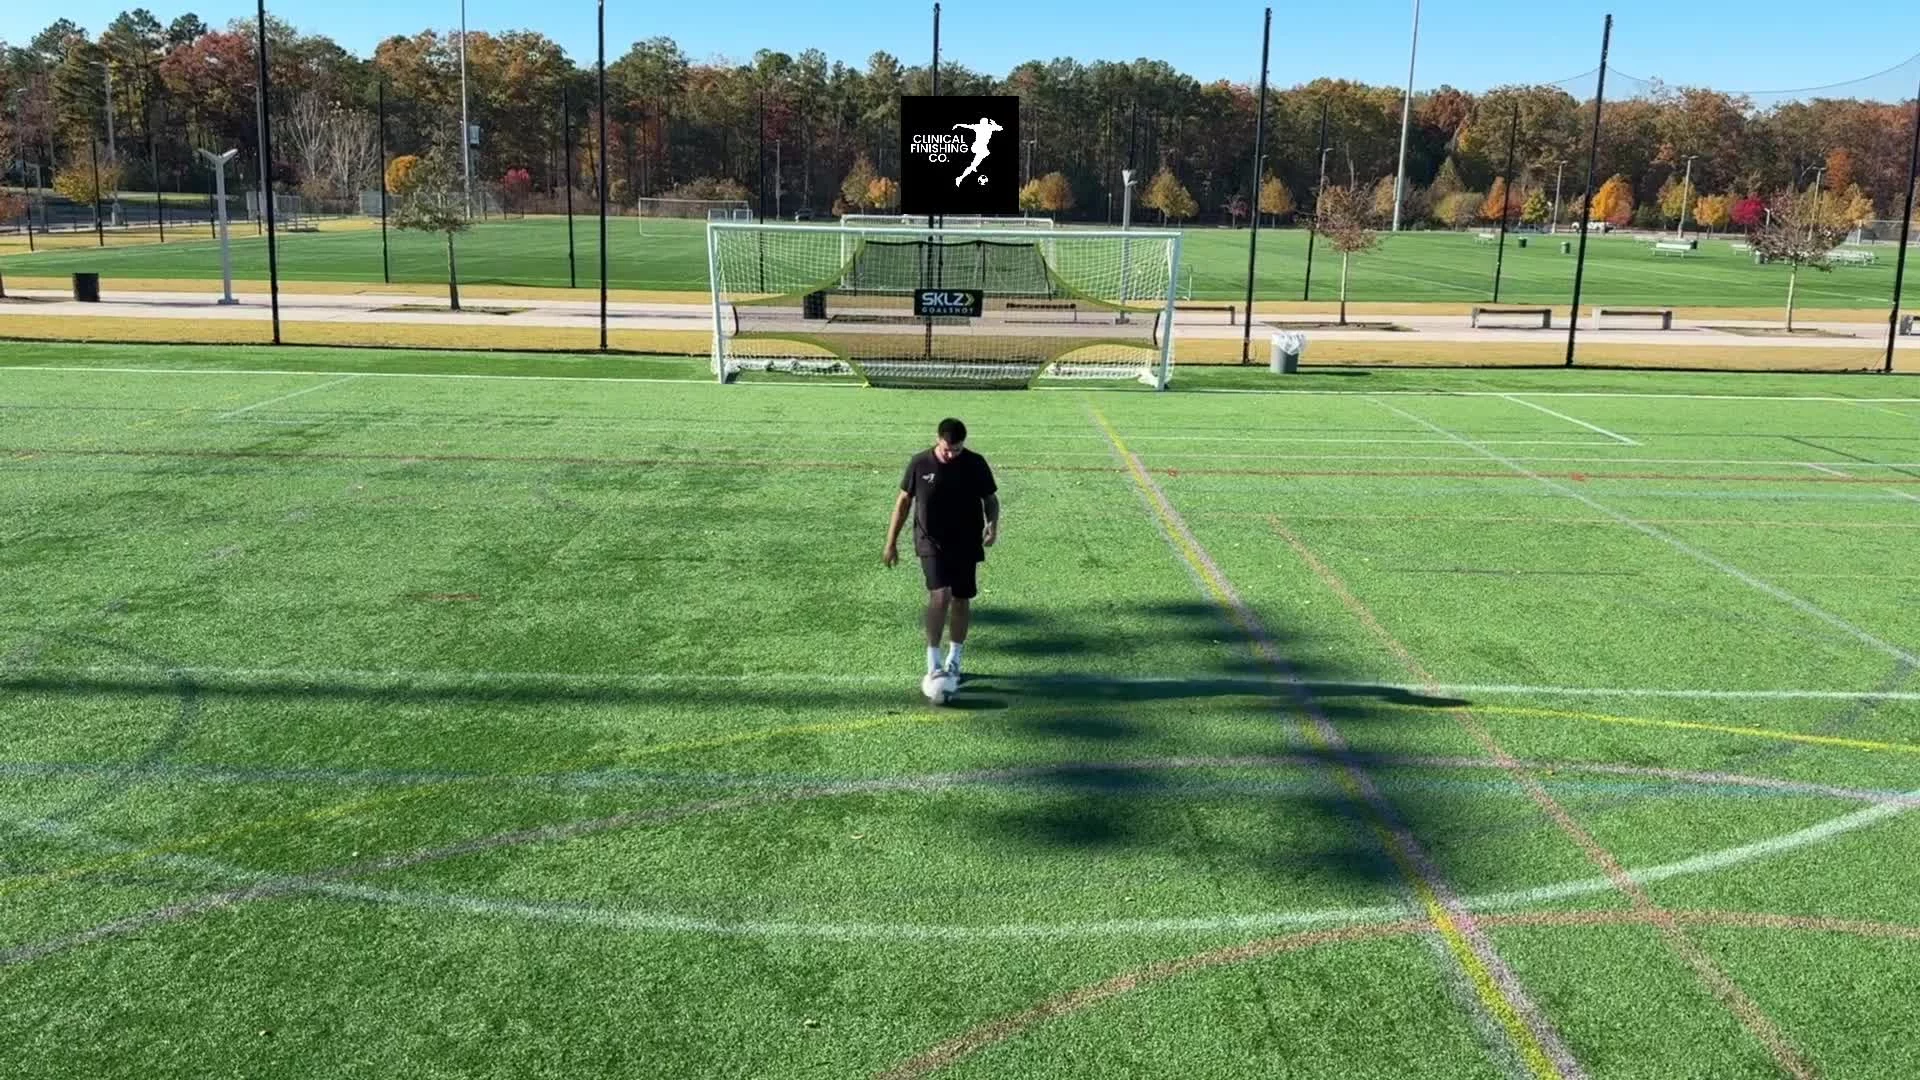
Predator Finishing – Turn Instinct Into Goals.
Welcome to Finishers Feast — the ultimate training series for elite attackers. In this session, we focus on instinctive finishing - eliminating hesitation when opportunities are presented, sharpening our obsession with being ruthless finishers.
This video features an instinctive finishing drill built to sharpen reaction speed, timing, and technical precision. The player tosses the ball over their head, adjusts quickly to the bounce, and strikes with intent. The goal is simple: react fast, set efficiently, and finish with accuracy.
This is the type of training that turns attackers into natural goal scorers — players who don’t need extra touches, don’t hesitate, and don’t miss opportunities.
⚽ Train your instincts. Sharpen your reactions. Finish like an elite attacker.
Drill set up:
No cones required - Begin at the top of the 18 yard box in the half circle.
Drill Directions:
Juggle the ball into your hands.
Toss the ball over your head & wait till you hear the ball bounce.
Once the ball bounces - Quick attack the ball, finishing the chance immediately.
Complete 15 reps then eliminate catching the ball and juggle the ball straight over your head.
Complete 15 times.
-
• 11/11/25
Ruthless Runs & Cold-Blooded Finishing
In this Finishers Feast session, we focus on one of the most important finishing scenarios for attacking players — sprinting into the box, keeping control at high speed, and executing a composed finish across the goal.
Top attackers know that many scoring opportunities come from through balls or quick runs in behind. The ability to dribble at full pace, maintain tight control, and finish with precision separates good forwards from elite finishers. In this video, we break down the technique and decision-making behind this high-level skill.
⚡ What You’ll Learn:
How to dribble effectively at full speed without losing control
Body positioning and timing for explosive runs into the box
Why finishing across the goal increases scoring percentage
Reading the goalkeeper’s movement and exploiting the near-post rush
How to maximize finishing efficiency in real match situations
Drill Set Up:
Begin on the weak side of the 18 (Right footed players on the left, left footed players on the right)
Take 10 steps directly backwards and set down the 1st cone.
Turn & face the near post, take 6 steps and place down 1 cone.
Walk another 6 steps or till you reach the 18 and set down 1 cone.
Walk across the 18 4 steps and set down the last cone.
Drill Directions:
Dribble from the 1st cone you set up to the 2nd cone.
Send the ball with 1 touch into the 18-yard box, through the gate.
Take 1 touch and finish across the goal for 15 reps.
After 15 reps - repeat the same steps but this time finish with 1 touch.
-
• 11/11/25
Mastering Quick Setups for Deadly Finishing
Welcome to Finishers Feast — the ultimate training series for elite attackers. In this session, we break down one of the most crucial aspects of elite finishing: minimizing your steps between the setup and the strike.
As attackers, time and space inside the 18-yard box are limited — every extra touch or step can be the difference between scoring and missing your chance. This video will help you refine your body positioning, first touch, and shot preparation so you can finish efficiently under pressure.
🎯 What You’ll Learn:
How to reduce wasted movement before the shot
Efficient footwork patterns for tight spaces
Timing and body control for quick, clean finishes
Real-game application: creating power and accuracy with limited time
Drill Set Up:
Begin standing on the 18-yard box facing the middle of the goal.
Turn to your right and set down the 1st cone 1 step away.
Do the same to the left side, setting down 1 cone.
Step to either cone and take 2 steps backwards, in a 45 degree angle, forming a triangle.
Drill Directions:
Set the ball up at the top of the triangle & angle yourself towards your strong sided cone.
Toe poke the ball so that it rolls into the 18 yard box.
Once the ball reaches the 18 or rolls into the box, take 2-3 steps and strike the ball - aiming for the near post.
Complete 15 times & perform the same directions - This time aiming for across the goal. Complete 15 reps.
As you become quicker, include a toe bounce and a flick to resemble game like scenarios.